Checklist
Fab Lab Safety Orientation Checklist
Updated June 11, 2026
Every fab lab has an orientation. Some are ninety serious minutes that make you safer for life; some are a waiver, a wave, and a wifi password. This checklist tells you which one you just took — and what to do about the gaps.
A real orientation covers the building first
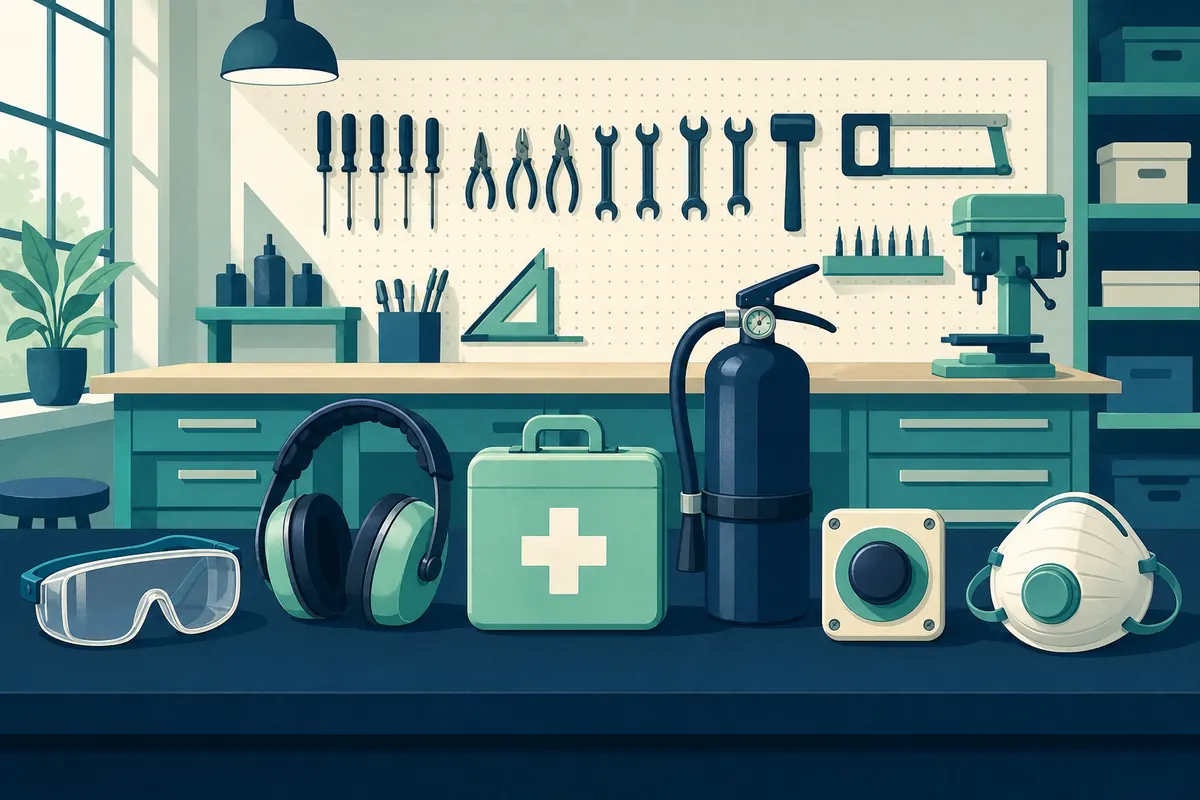
- ☐ Emergency exits, and the assembly point outside
- ☐ Fire extinguisher locations and types (the CO2 one lives near the laser for a reason)
- ☐ Emergency stops: where, and a literal demonstration of pressing one
- ☐ First aid kit, eyewash, and who to call — posted, not folklore
- ☐ Incident and near-miss reporting: how, to whom, no-blame
- ☐ Working-alone and after-hours rules
Then the universal rules
- ☐ PPE expectations stated as requirements, not suggestions
- ☐ Dress code: hair, sleeves, jewelry, closed-toe shoes
- ☐ The training matrix: which machines need which checkout, and how to book them
- ☐ Material restrictions overview (and where the full lists are posted)
- ☐ Cleanup standards — what 'done' looks like at a station
Machine-area walkthroughs (even pre-checkout)
You shouldn't leave orientation able to use the table saw — but you should know its danger zone exists. A good orientation walks every area and names the headline hazard: laser fire watch, saw kickback, welding arc flash, CNC workholding. If the tour skipped a whole room, that room's rules live only in tribal knowledge — ask.
Score what you got
| Your orientation had… | Verdict |
|---|---|
| All three layers above, ~60–120 min, questions welcomed | Gold standard — trust the rest of their training too |
| Building + rules but thin on machine areas | Normal — fill gaps via per-machine checkouts before touching anything |
| Waiver + payment + wifi password, 15 minutes | The orientation was a formality; assume every other safety system is too. See safety basics and proceed carefully — or reconsider the membership |
Questions worth asking before it ends
- “Who's the most safety-fluent person here on weeknights?” (Your future first question target.)
- “When did the lab last update a procedure after a near-miss?” (Living systems update; dead ones don't.)
- “Can I retake orientation later for free?” (Good labs say yes.)
- “What's the youth/guest policy?” — orientation requirements usually differ for kids and families.
Orientation is the free sample of a lab's whole culture. A space that takes 90 minutes to keep you safe will also maintain its machines, enforce etiquette, and handle conflicts well. Judge accordingly.
Frequently asked questions
How long should a fab lab orientation take?
60–120 minutes for a multi-shop lab. Under 30 minutes can only cover paperwork and pointing — which means the real safety training either lives in per-machine checkouts (ask!) or doesn't exist.
I did orientation months ago and forgot most of it. Now what?
Ask to sit in again — good labs allow free retakes and respect the request. At minimum, re-walk the building: exits, extinguishers, E-stops, first aid. Five minutes restores the layer that matters in an emergency.
Does an orientation replace machine training?
Never — it's the building-level layer. Machine competence comes from per-tool checkouts and supervised practice. A lab that treats one orientation as clearance for everything is waving a red flag the size of the building.