Checklist
Shared Woodshop Membership Checklist
Updated June 11, 2026
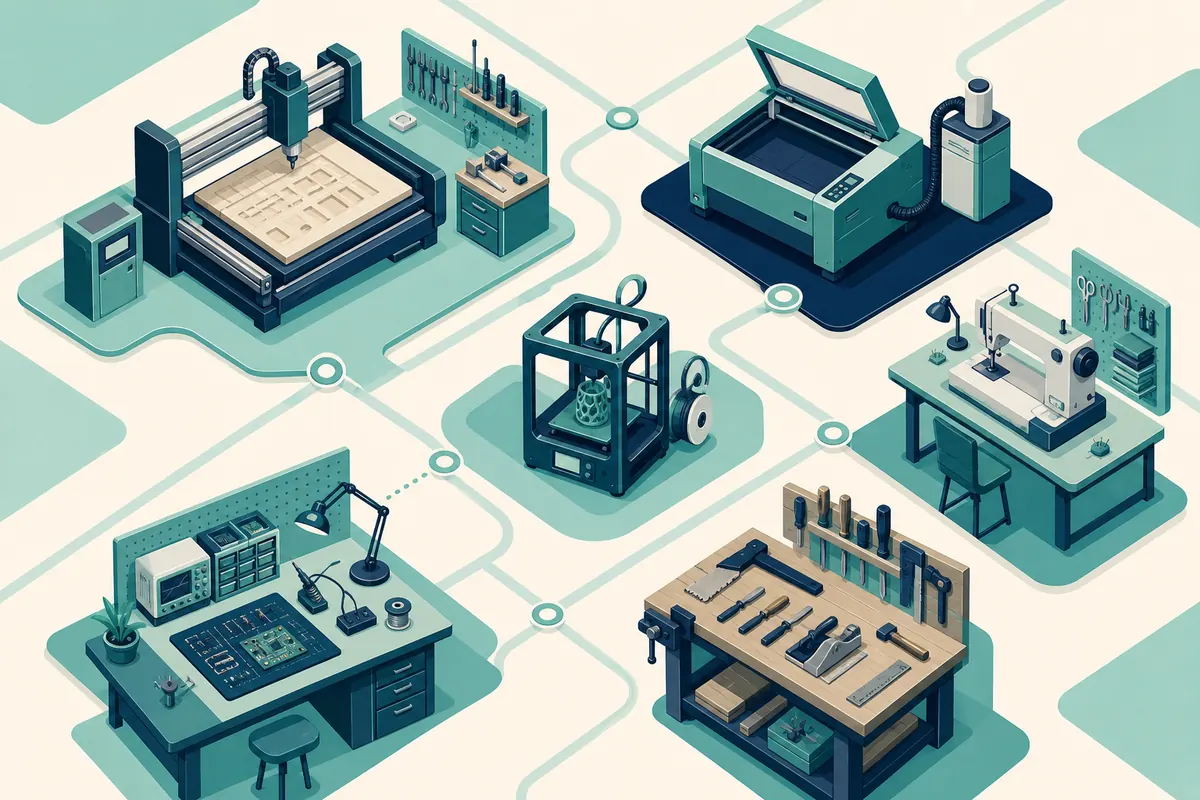
Every woodshop tour shows you the same thing: impressive machines and a friendly guide. This checklist is the stuff tours skip — the systems that decide whether you'll still be happy in month four.
Safety systems (dealbreakers first)
- ☐ Mandatory orientation before machine access — if they skip it for you, they skip it for everyone
- ☐ Table saw has a riving knife installed and ideally flesh-detection (SawStop or similar)
- ☐ Guards present on jointer, bandsaw, and router table — not hanging on a nail nearby
- ☐ Push sticks and push blocks at every station
- ☐ First aid kit visible, stocked, and an incident procedure someone can describe
- ☐ Broken tools get red-tagged and actually leave service
Air quality
- ☐ Central dust collection connected to every major machine
- ☐ Ambient air filtration running
- ☐ Surfaces reasonably dust-free (run a finger along a shelf — seriously)
- ☐ Finishing happens in a separate ventilated area, not next to the sanders
Tool condition
- ☐ Table saw blade and jointer knives sharp (ask when they were last changed)
- ☐ Fences and miter gauges square and not improvised
- ☐ A visible maintenance log or a named person responsible for machines
- ☐ Clamps — many, organized, and not all bent
Access logistics
- ☐ Hours match when you can actually attend (visit at that time)
- ☐ Reservation system for high-demand machines — ask how far out the CNC and planer book
- ☐ Project storage available, and what it costs
- ☐ Material storage and scrap policy
- ☐ Guest policy, day passes, and pause/cancel terms in writing
Money beyond the dues
- ☐ Orientation and checkout class fees
- ☐ Metered machine time (CNC especially)
- ☐ Storage fees
- ☐ Consumables policy: sandpaper, glue, blades — included or BYO?
The one-question version: ask a current member “What do you wish you'd known before joining?” — then be quiet. Members tell tours the truth that staff can't.
After the tour
Write down total first-year cost (dues + classes + storage + your gear), the realistic date you'd be cleared on the machines you need, and the first project you'd build. If any of those three is fuzzy, that's your follow-up question before paying. For the broader decision framework, see questions to ask before joining and where to find woodshop access.
Frequently asked questions
What's the most important single thing to check?
Dust collection. It's expensive, invisible in photos, and a perfect proxy for how the whole shop is managed. Shops that solve dust have usually solved maintenance, training, and culture too.
Is a shop without SawStop unsafe?
Not automatically — plenty of good shops run conventional saws with strict training and guarding. But flesh-detecting saws are increasingly the shared-shop standard because member skill varies. Treat its absence as a reason to scrutinize training, not an instant no.
How long until I can actually use the machines?
Typical path: orientation (week one), then per-machine checkouts that may run weekly or monthly. Ask for the realistic calendar date you'd be cleared on the table saw and planer — that answer varies from days to two months between shops.